A fresh coat of paint is one of the highest-impact, most affordable upgrades you can make to any room. But before you buy your first gallon, there are a few interior painting tips that separate results that last five years from results that look tired after one. Whether you’re doing it yourself or hiring a professional, knowing these fundamentals makes a real difference.
Interior Painting Tip #1: Prep Is Everything
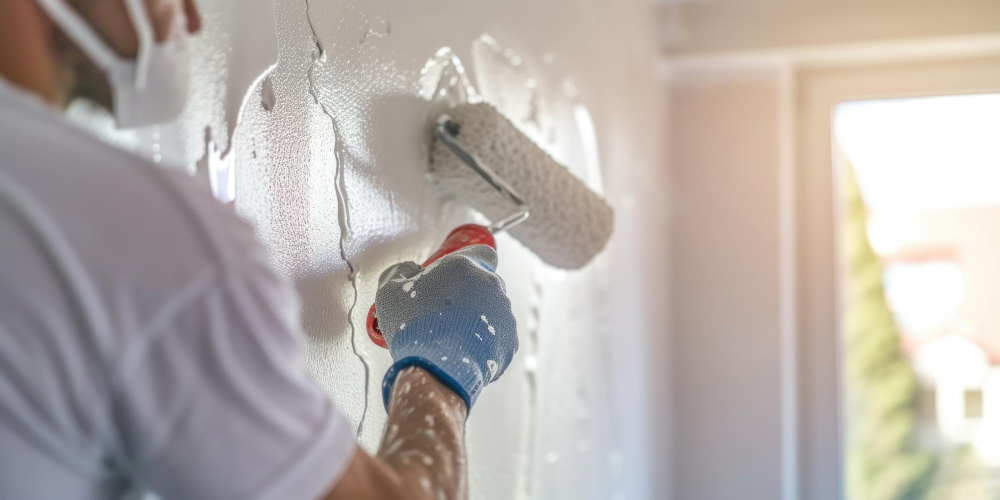
The most important of all interior painting tips is this: the quality of your prep determines the quality of your result. Most painting failures — patchy coverage, visible repairs, early peeling — happen because prep was skipped or rushed. A proper prep process includes patching all drywall cracks and nail holes, sanding and feathering edges smooth, de-glossing existing semi-gloss surfaces so new paint adheres properly, and spot-priming stains and water marks before the finish coat. This is where professional painters and weekend DIYers diverge most dramatically.
Interior Painting Tip #2: Choose the Right Sheen for Every Room
Sheen selection is one of the most overlooked interior painting tips — and one of the most consequential. The wrong finish makes surfaces harder to clean or amplifies every wall imperfection. Here’s a quick guide:
- Flat or matte: Ceilings and low-traffic areas. Excellent at hiding surface flaws.
- Eggshell or satin: Living rooms and bedrooms. Wipes clean and holds up to daily wear.
- Satin or semi-gloss: Kitchens, bathrooms, doors, and all trim. Resists moisture and cleans easily.
Interior Painting Tip #3: Humidity Affects Everything
In South Florida, humidity is a critical factor in any interior painting project. Paint applied in high-humidity conditions takes longer to dry, bonds poorly, and can trap moisture beneath the film — leading to bubbling or mildew. The Paint Quality Institute recommends keeping indoor humidity below 70% before and during painting. Running the AC and ensuring good airflow makes a measurable difference in how paint cures and adheres.
Interior Painting Tip #4: Don’t Skip the Trim
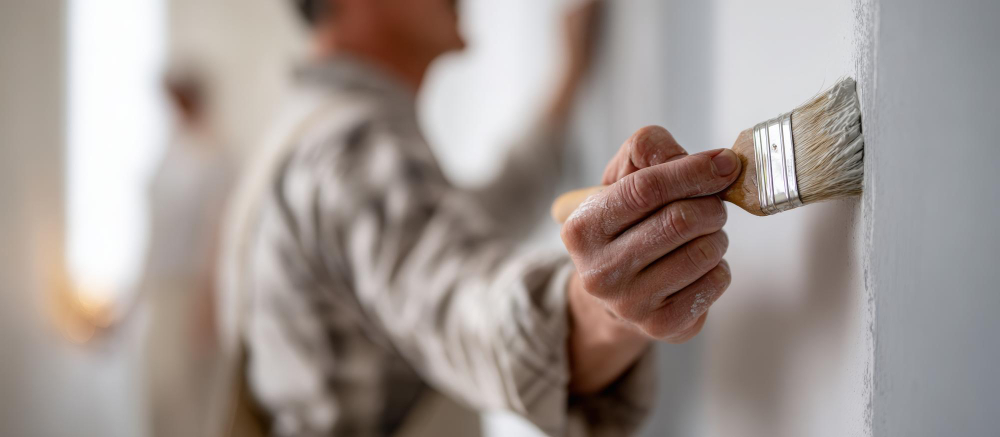
Fresh wall paint next to chipped, dingy baseboards tells a story — and not a good one. One of the most effective interior painting tips is to paint trim and walls as part of the same project. If existing baseboards are damaged or outdated, replacing them before painting gives the room a complete, built-in finish. Visit our painting service page to see how we handle full painting and trim projects from start to finish.
Interior Painting Tip #5: Protect Before You Paint
Floor protection, clean masking tape on trim, and covering fixtures before you start isn’t optional — it’s what separates a professional job from an amateur one. Good prep at the start means no cleanup disasters at the end.
Interior Painting Tip #6: Leave Labeled Touch-Up Paint
Always keep a small jar or container of every paint color used, labeled by room. This single habit saves enormous frustration when you need to touch up a scuff six months later. It’s a small detail that professional painters handle as a standard step.
At Fast Renovation Home, every interior painting project follows these tips as standard practice — including sheetrock patching, sheen selection guidance, clean masking, and trim work. We also handle bathroom painting and kitchen refresh painting as part of larger interior update projects across Broward County.
📞 Ready to refresh your space? Call Fast Renovation Home at 786-630-3958 or visit fastrenovationhome.com for a free estimate.